Table of Contents
Do you have a beautiful piece of wooden furniture that needs a bit of sprucing up? Before you potentially ruin a valuable heirloom, you might want to know the difference between stand and paint, and how they react to wood respectively.
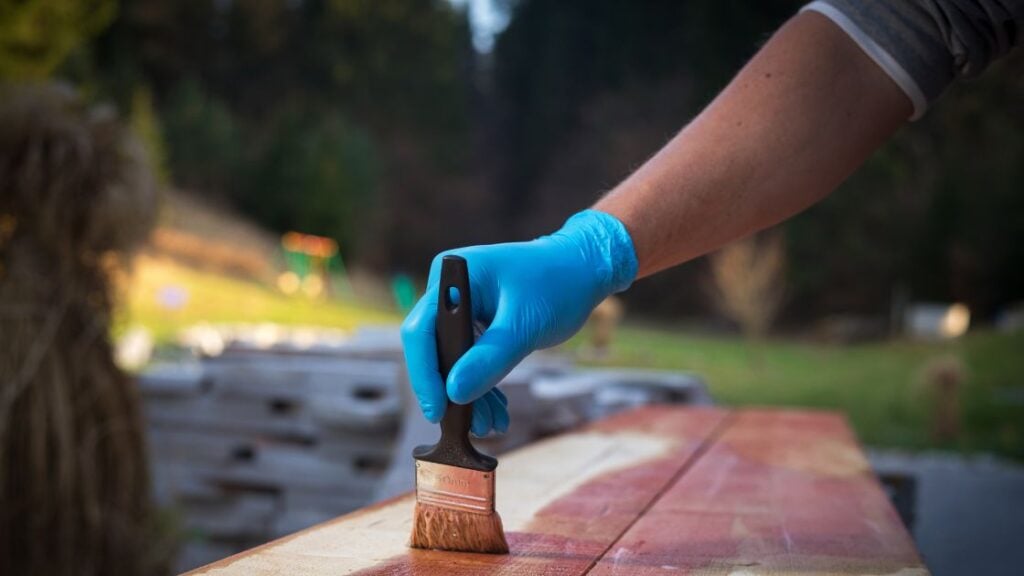
Wood stain is a form of wood finishing applied to bare wood to enhance its appearance, but it doesn’t offer much in the way of protection. Think of it as a wood dye that can also be used to colourise wooden furniture or constructions.
It dries to a soft, matt finish without much sheen.
In today’s blog, we will scratch the surface of the differences between stain and paint, and which would be best suited to your DIY project. The process can seem daunting at first. But if you follow these simple steps, you can create stunning pieces like a pro without any hassle.
What’s The Difference Between Paint and Stain?
Paint and stain are two popular paint products used to decorate surfaces. However, their basic functionalities are similar, with a few differences. Both are liquid products that can be easily applied to surfaces and used to add colour or depth to the decor.
However, before using either of them, you should take care to ensure that you achieve your finished result.
How Wood Dye Works
This version is a finish that is only used on wood, as the pores can allow the colour to really penetrate the absorbent pores and grain of the wood. It is made out of various combinations of solvents, pigments, a binding agent, and, of, course, dye.
Because of the solvent, the dye is very flowy, like liquid. This allows the pigment to really absorb in the wood for a subdued hue. Stains aren’t as bold or as vibrant as paint. It allows the wood to keep its natural grain, with a transparent finish. Depending on the finished look you have in mind, one coat of solid stain can be enough to just brighten the piece.
What About Paint?
As we are sure you are well aware, paint can be used on many different types of material. We aren’t going to list specific formulas here, since there are so many different types of paint. High glossy paints, for instance, have a high sheen, whereas water paint is easier to apply. (Ultimately the paint you choose is entirely up to your taste and preference) The most important takeaway here is that paint sits on top of the surface, while dye penetrates it.
Should You Stain Over Paint?
The answer here is quite mixed and divided in DIY circles – most people consider very little advantage to dyeing a painted surface. Yet the question persists, so let’s take a look;
As a good rule of thumb, you can stain over paint for smaller projects, like refurbishing older furniture or sprucing up door frames, but we won’t recommend it for big projects like decks. Technically speaking, you can do what you want, but the overall effect on bigger areas will be too streaky and less smooth.
Three Ways to Stain Over Paint
If you are adamant to stain over an existing layer of paint, you have one of three options (that will actually look good). You can go for the traditional method that will keep the grain intact and visible, or you can go for a farmhouse flair antique style. Then, of course, you can go for the best of both to blend both techniques together.
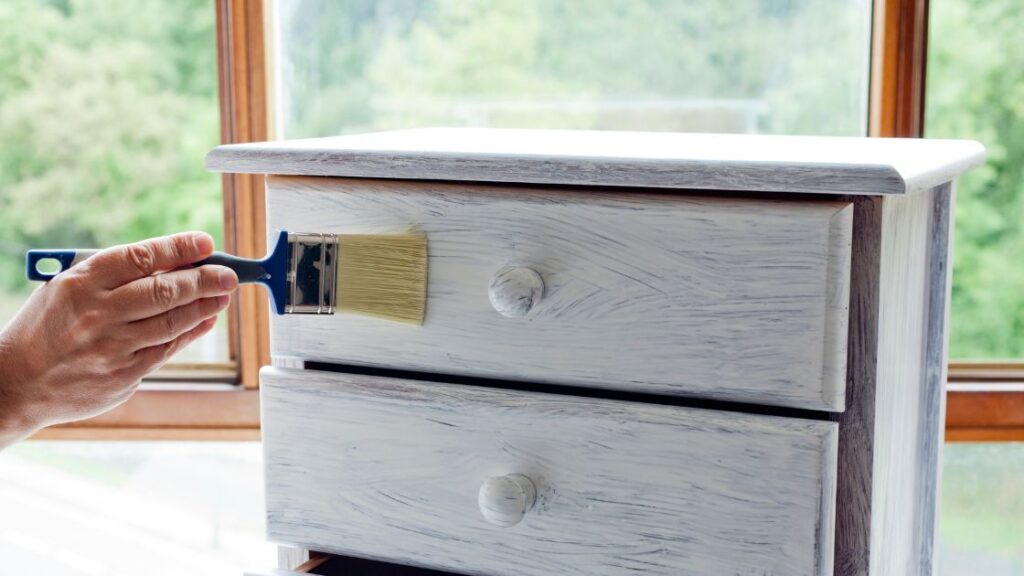
Rock it the Rustic Way
Rustic techniques immediately give the illusion that a piece is aged – the patina used can give the item a weathered or even bronzed look. This is really, really simple, and doesn’t involve any hard technical skills. All you need to do is lightly sand the area, and apply your wood dye – that’s it!
The Technically Correct Way
With this method. you’re going to require some patience and a lot of elbow grease. It is considered the correct way by professional painters such as ourselves. You will have to scrape, sand, and peel the paint from the wood to leave it exposed so that the dye can really seep into the grain. Technically, if you want to split hairs, this is not really staining over paint, but more about removing the layers of existing paint.
Best of Both Worlds
Now, who said you can’t combine rustic charm with contemporary? To achieve this look, sand down the stress areas of your furniture. These are the areas that receive the most traffic, like armrests and corners. Focus your wood dye on these areas to restore pieces to their natural charm. The end result? An eye-catching piece that is partly painted, and partly coloured wood grain. Use your imagination here and go wild
Paint Over Wood Stain in 6 Easy Steps
Inversely, you can also paint over stain (if you must) but you need to allocate enough time to the project to make it work. When using paint, you should always prime the surface first. This will help protect the wood and create a smooth surface for the paint to adhere to.
Sand the wood
Before you do anything else, you first need to sand the area. For the best results, 150-grit sandpaper should do the trick. Essentially you want to create a rough enough area for the paint to stick to. If you are only doing patches, you don’t need to sand the entire area either.
Hopefully, we don’t have to tell you that PPE is important here – wear your safety gear! You don’t want wood chips flying at you.
Wipe down the wood
Before you start painting, wipe down the area with a dry, tack cloth to remove any dust or dirt. The tack will make sure that you catch all sandpaper particles – tissues won’t do it! You want to get rid of all the dust and debris.
Add a primer
Before you can apply paint, you must first prepare the surface by priming it. This will help the paint adhere more easily and protect the wood from moisture damage. You can do this by applying a primer of your choice to the wood. We suggest an oil-based primer to better protect the wood for longer. Alternatively, you could choose to use a primer that is specifically designed for painting wood and that contains UV-resistant properties to protect against the damaging effects of the sun.
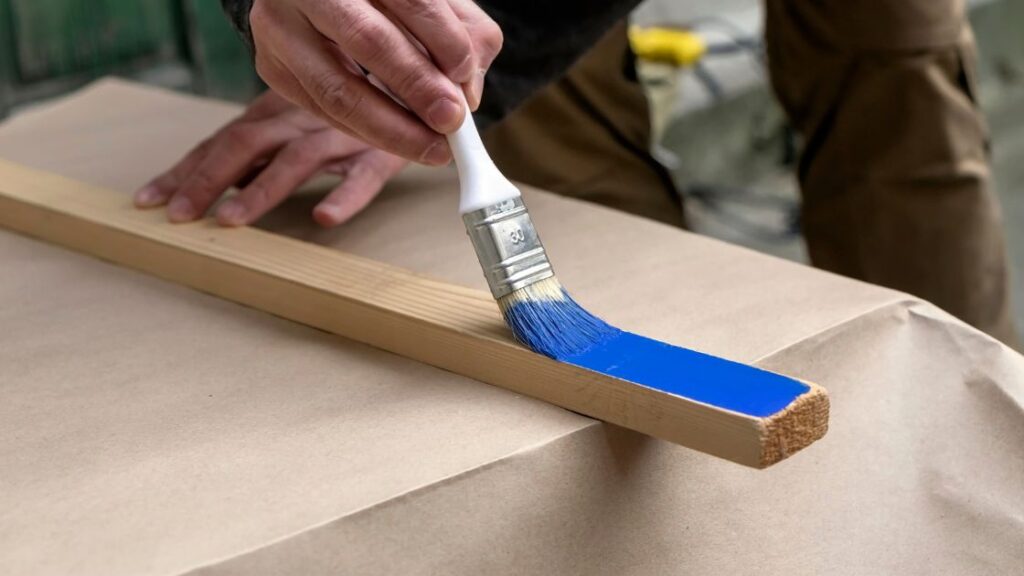
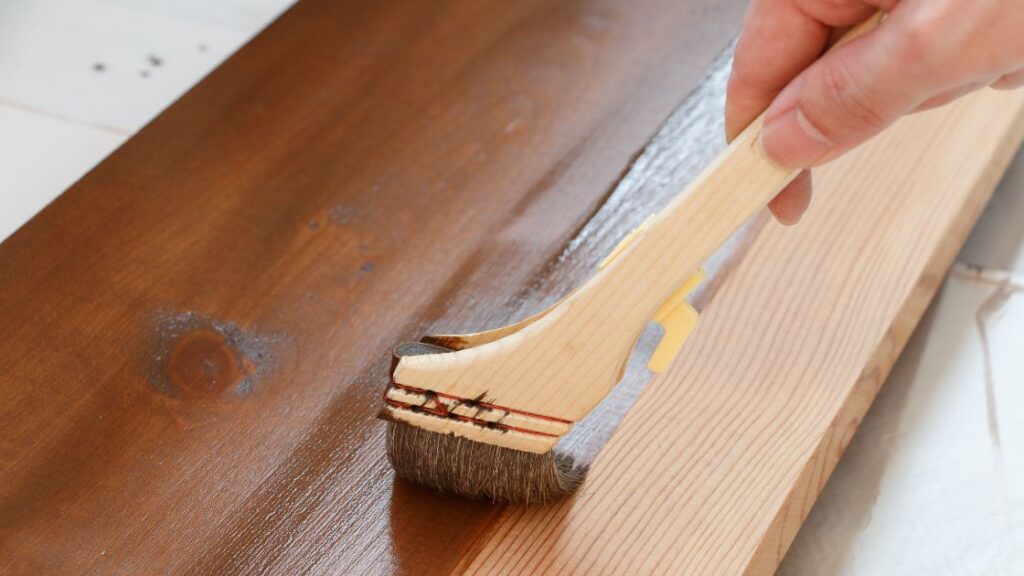
Paint your wood
Once primed, you can apply paint to achieve the desired look for your project. So grab a roller (or brush) and apply at least two to three layers of paint. We also suggest that you use oil or latex paints for high-traffic areas, like cupboards and chests. If you are going to use oil paint, just remember to leave about 6 hours between each coat for it to dry properly.
Apply the finish
Finally, the finish! You want something that will protect your masterpiece. Of course, you can go for varnish if you want extra high, glossy sheens. But we recommend that you consider a polyacrylic protective finish that will really keep your paint job intact. It is easy to apply in aerosol sprays.
Dy(e)ing For Some Colour?
If you’re stumped on whether to stain or paint your wood surfaces, we’ve got just the solution for you. If you plan to follow the DIY route, make sure you stick to the steps and instructions, and you should be fine.
Just remember, patience and attention to detail is a must! If you don’t have either, Painting in Colour will gladly step up to the challenge.

Robert Martinak is a Painting Technology Specialist with over 30 years of experience in the field. He is based in Dublin, Ireland and has extensive knowledge and expertise in the application and management of painting projects.