Table of Contents
2023 is in full swing, and perhaps it is time to usher in your dated walls into the new year. If you are planning to throw out the old paint job and breathe new life into your home, it is important first to understand the necessity of surface preparation in spray painting.
Before you grab your overalls, there are a few things you should do to ensure a smooth and flawless finish. In this guide, we’ll cover the basics of surface preparation, including tips on how to clean and prepare your exterior surface.
We’ll also provide a handy checklist of tasks you can complete before spray paint starts to make the process as smooth and easy as possible. So, whether you’re new to spray painting or you’ve been doing it for years, read on to learn all you need to know about surface preparation.
Step 1: Surface Contamination
Before spray painting a surface, it is important to clean it thoroughly. This will help prevent any surface contamination that may occur during the painting process.
To get rid of grime, simply use a household cleaner or gentle detergent of your choice and a sponge. Although all loose particles, such as dust, need to be removed, it is important to ensure that you are not causing any scratches or chips while cleaning. Make sure to scrub the surface until all traces of dirt, dust, or grease residue are gone. Finish by wiping down the entire area afterwards with a dry cloth.
Step 2: Remove any Loose, Peeling Paint, Rust, and Dents
Before you start spray painting, it’s important to take care of any loose, peeling paint and dents. You can do this by using a wire brush, a pneumatic stiff bristle brush, or even sandpaper to remove the debris. Make sure to wear gloves and eye protection while working, and be careful not to injure yourself.
To remove dents:
- If the surface, you want to spray is not too rigid you can use a plunger to suction the cup onto the dent and pull up slowly and steadily until the dent pops out. Be careful not to stretch or tear the surrounding wall surface; use only gentle pressure when removing dents.
- Once the dent is removed, clean up any spilt paint or debris with a cloth or sponge. Now is also the time to sand or scrub off any pieces of loose rust.
Step 3: Rinse the Surface
To clean the surface, start by pouring water onto the area you want to clean and using a mop or bucket to flood the surface. Swish the water around until it’s completely wet, then use a scrub brush to rinse the surface.
Make sure you get into all of the crevices and corners. Finally, pour more water onto the area and let it soak for a few minutes before rinsing off with fresh water. Leave the walls to dry thoroughly before you move on to the next steps.
Step 4: Environment Conditions
Before spraying your surface, make sure the environment is ready. If you followed the previous steps, the surface should now be clean and free of any dust or dirt. Grime will cause the paint to settle and become clogged.
Additionally, make sure there’s no moisture present – this will lead to misting and dripping. Make sure the temperature is in a comfortable range for painting too – too cold or too hot can cause problems. We covered the ideal temperature extensively in our previous blogs.
Here are some things to keep in mind:
- Make sure the area is free from objects that could fall on or damage the paint job. This includes rain and snow outdoors. Hopefully, we don’t need to tell you that it is counterproductive to paint in the rain…
- Clear any obstacles away from the area, such as furniture or plants.
- Keep pets and children away from the area when the spraying job starts, as they may get injured.
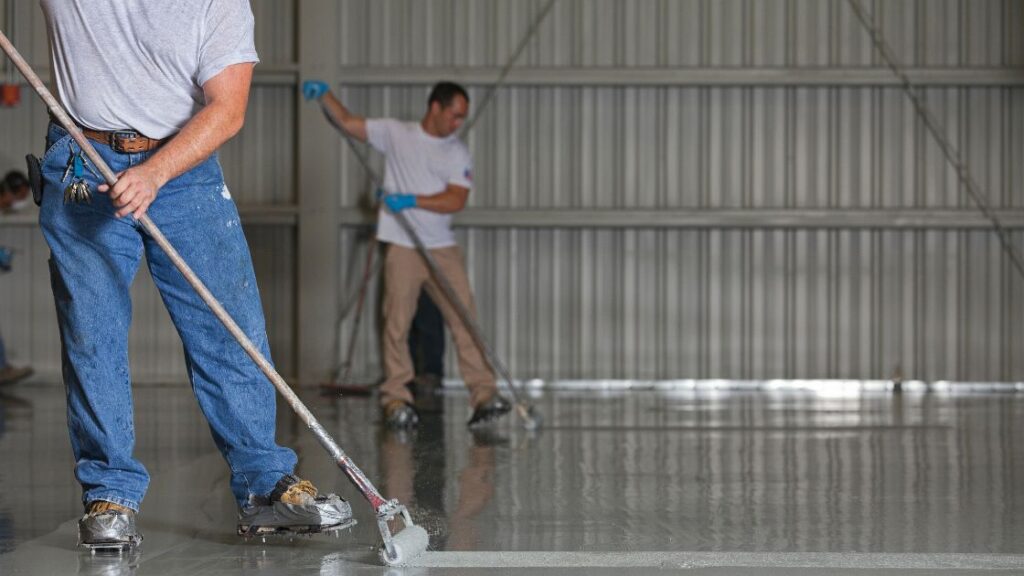
Step 5: Topcoat the Surface
A decent pre-treatment of your surface before a spray job is an important step in ensuring a smooth, professional finish.
Here are some tips to help you get the best results:
- Be sure to wear a dust mask and protective eyewear when top coating.
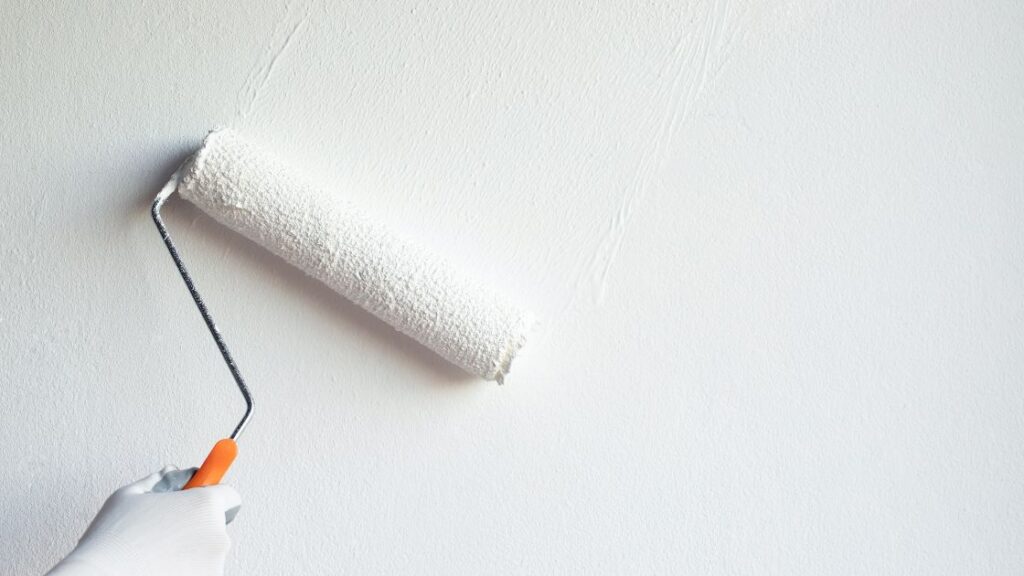
- Use a high-quality topcoat that’s specifically designed for painting surfaces.
- Apply the topcoat in thin, even layers, allowing it to dry between each coat.
- Allow the surface to dry completely before starting your painting project.
This step will protect the surface from chipping and fading. There are a few different types of topcoats available on the market, so choose the one that’s best suited for the environment and finish you’re going for.
Some popular options include:
- Polyurethane: This is a heavy-duty finish that can resist scratches, fading and chipping. It’s also easy to apply and has a long shelf life.
- Acrylics: These are versatile finishes that are resistant to water, oil and UV light. They have a flexible sealant that makes them ideal for indoor use, and they can be applied in various shades to create a variety of looks.
- Latex: This is a durable rubber finish that resists moisture and humidity, making it ideal for outdoor surfaces like decks or patios. It has an epoxy adhesive that forms a strong bond between the paint and substrate, preventing any future peeling or chipping.
When you schedule a paint job from Painting in Colour you can get in contact with us to find out more about which type of topcoat you should opt for.
Step 6: Re-Coat the Surface, if Necessary
Finally, it is time to recoat the surface after the top coat has dried. This will protect from weathering and other damage as the first prime coat might not have covered all fragile or uneven spots.
If you notice that there are areas on the surface that were not covered by the original paint job, then you should re-coat these areas with thin layers as well. This will help to achieve a consistent, lasting paint job.
What is the Purpose of Surface Preparation?
The purpose of surface preparation is to remove any contaminants, oils, loose paint, and debris from the surface before coating or applying a sealant. This will ensure that the sealant sticks to the surface properly and can perform as intended.
There are several reasons why the preparation of the surface is your first step:
- It reduces the potential for paint adhesion problems during coatings or sealing. Coated areas may not adhere well to unsealed areas, leading to poor performance.
- If dirt, dust, oil, or other surface contaminants are present on the substrate before coating or sealing, they will become embedded in the finish and will be difficult (or impossible) to remove later.
- A properly prepared substrate allows for an even application of sealants and better coverage overall due to its increased contact area with these substances.
FAQ
What type of spray paint should I get?
The best paint for a particular job will vary depending on the surface you want to paint and the specific instructions for preparation that have been provided.
Some general guidelines that may be useful include using oil or water-repellent paints, choosing paints with low VOCs (volatile organic compounds), and avoiding paints containing solvents or other harsh chemicals. Using a professional painting service like Painting in Colour will ensure the expertise of experienced painters at your fingertips.
What is the best way to prep my surface before spraying?
The very first step to prep your surface before spraying is to clean it, and clean it well! You can use a vacuum cleaner and/or an enzyme-based cleaner. Make sure that all the dust, dirt, and other particles are removed from the area you will be painting.
Can I use a different type of primer?
Yes, you can use any type of primer that is safe for painting. Some people prefer to use water-based primers because they are easy to clean, and usually smell better than other types of primers. Others choose oil-based primers because they provide a more solid paint film.
A Squeaky Clean Surface for a Sterling Sprayjob
Repainting your walls requires a bit more planning than just splattering on layer after layer of paint coatings. Proper surface preparation in spray painting is the key here for a smooth, elegant finish.
Depending on the weather and other factors you may want to consult with professional painters such as Painting in Colour Dublin to ensure you are preparing your surface correctly. When you doubt, you may want to consider hiring reliable painting services in Dublin who will take care of the dirty details.
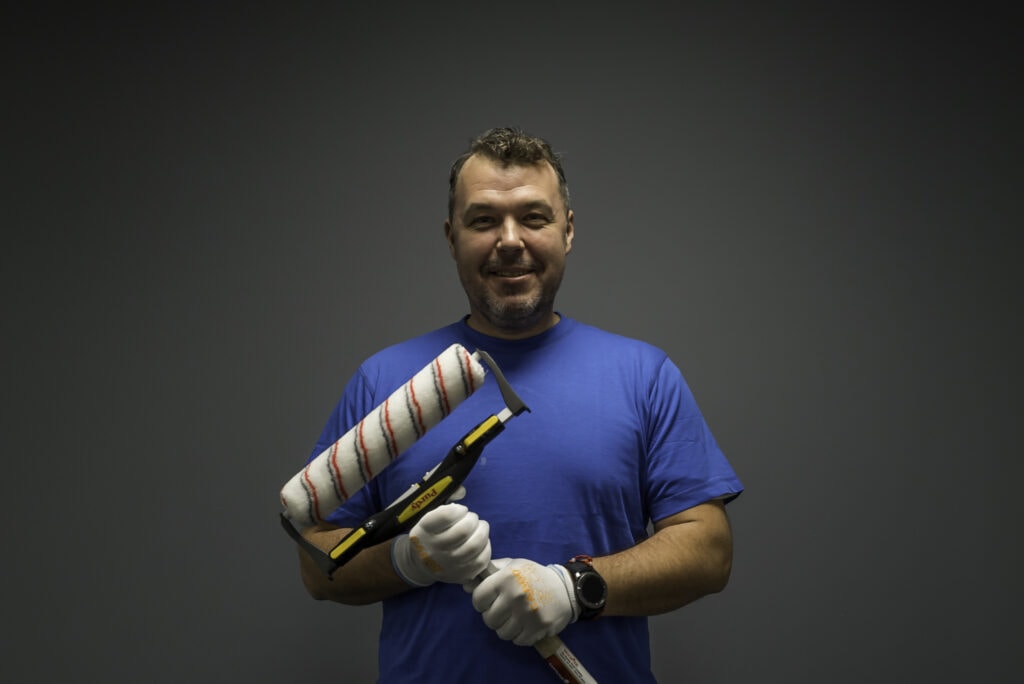
Robert Martinak is a Painting Technology Specialist with over 30 years of experience in the field. He is based in Dublin, Ireland and has extensive knowledge and expertise in the application and management of painting projects.