Table of Contents
Have you ever found yourself in a sticky situation where your freshly painted walls started to peel like a bad banana?
Or perhaps your once smooth and flawless paint job began to crack, leaving unsightly lines across the surface of your house interior.
Well, fear not! In this article, we will explore 8 common paint problems that you may encounter on your DIY painting journey and provide you with the knowledge and expertise to fix them.
From blistering paint to fading colours, we’ve got you covered. So grab your brushes and roll up your sleeves because it’s time to tackle these issues head-on.
With our step-by-step instructions and handy tips, you’ll be able to transform any room into a masterpiece without breaking a sweat.
Say goodbye to those pesky paint problems and hello to a job well done!
Peeling Paint
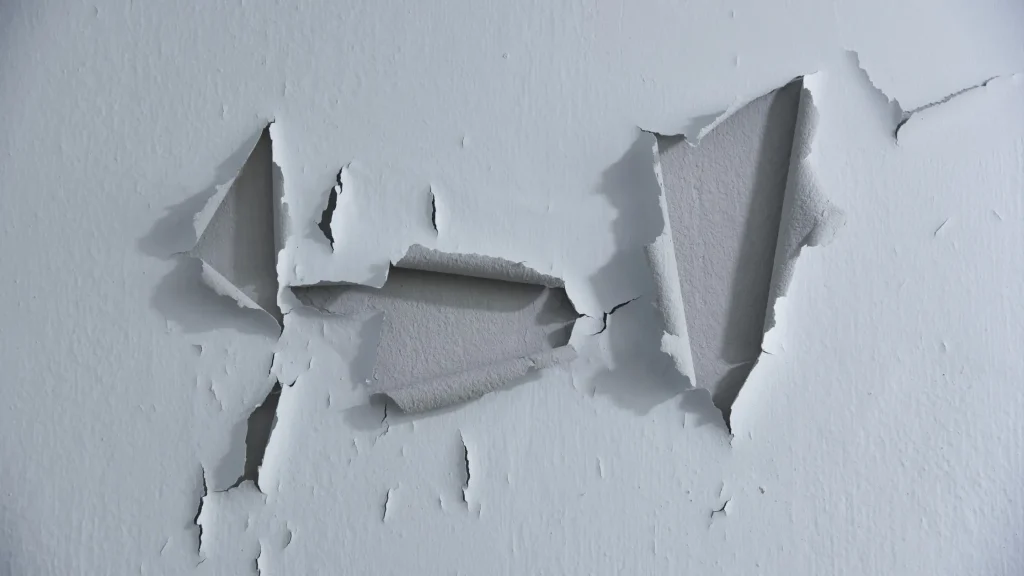
Is your paint peeling off the walls? Don’t worry, we’ve got some tips to help you fix it!
Peeling paint can be a frustrating problem, but with the right knowledge and preparation, you can easily solve it.
There are several causes of peeling paint, including moisture damage, improper surface preparation, or using low-quality paint.
To prevent future peeling, it’s important to address these issues before repainting.
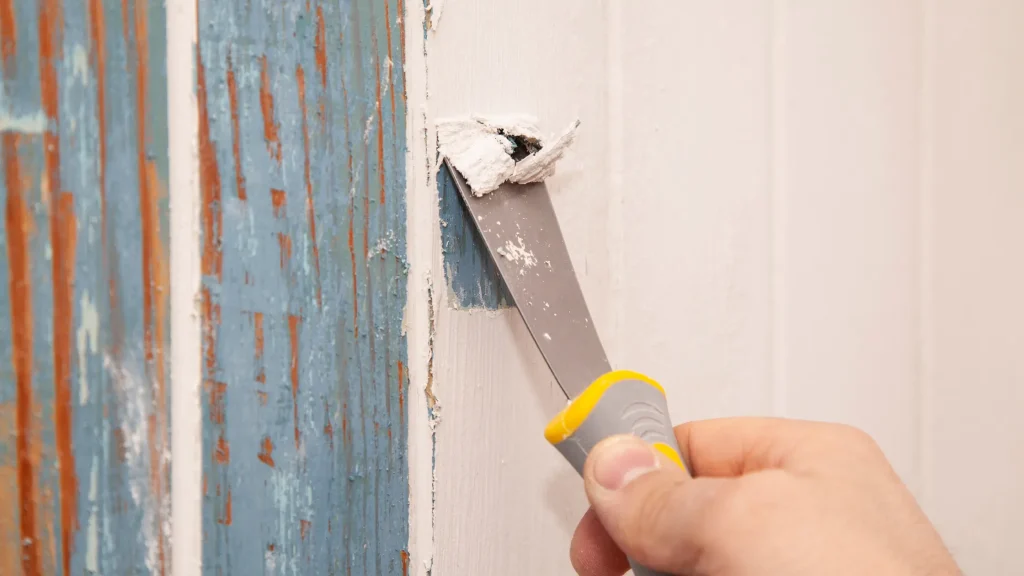
First, make sure the surface is clean and dry by removing any dirt or grease. Next, scrape off any loose or flaking paint using a putty knife.
After that, sand the area lightly to create a smooth surface for painting.
Finally, apply a high-quality primer before applying new paint to ensure better adhesion and longevity.
By following these steps, you’ll have a fresh coat of paint that will stay on your walls for years to come!

Cracking Paint
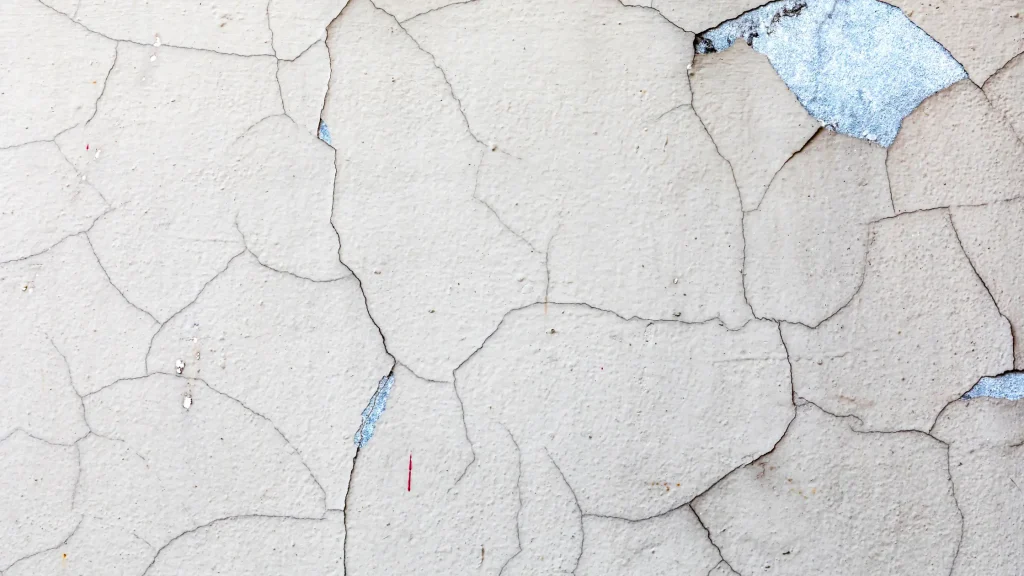
When your paint starts to crack, you’ll feel an overwhelming sense of frustration as all your hard work appears to crumble before your eyes.
But don’t worry, there are steps you can take to prevent cracking and repair cracked paint. Here’s what you need to know:
Prep the surface: Before painting, make sure the surface is clean and free from any dirt or loose paint.
This will ensure proper adhesion and minimize the chances of cracking.
Use high-quality paint: Investing in good quality paint can make a big difference in preventing cracks. Cheaper paints often lack flexibility, which leads to cracking over time.
Apply thin layers: Instead of one thick coat, apply multiple thin coats of paint. This allows each layer to dry properly and reduces the likelihood of cracking.
If you do notice cracks in your paint, don’t panic! Simply sand down the affected area, apply a primer if necessary, and repaint with a high-quality paint. By following these tips, you can maintain a beautiful and crack-free finish for years to come!
Blistering Paint
Get ready to be shocked by the unsightly and frustrating issue of blistering paint! Blistering occurs when bubbles form beneath the painted surface, causing it to lift and peel.
To fix this problem, you need to identify its root cause. One common culprit is moisture trapped between the paint layers. When the paint fails to create a proper moisture barrier, blisters can form.
To prevent blistering, it is essential to use a high-quality paint primer that acts as a protective layer against moisture. Before applying the primer, make sure the surface is clean and dry.
Additionally, ensure that you are using the appropriate type of primer for your specific project.
By taking these precautions and using a reliable moisture barrier, you can say goodbye to blistering paint woes!

Uneven Finish
To fix an uneven finish on your paint job, you can start by sanding the surface smooth.
This will help to remove any bumps or imperfections that may be causing the unevenness.
Next, apply multiple thin coats of paint rather than one thick coat. This will ensure a more even and smooth finish.
Finally, when applying the paint, use a paint roller or brush with smooth strokes to avoid creating any additional streaks or inconsistencies in the finish.
Sand the Surface Smooth
Smoothly sand the surface to solve any paint problems. Sanding is an essential step in achieving a flawless finish. By using proper sanding techniques, you can eliminate imperfections and create a smooth surface for painting.
Start by selecting the right grit sandpaper based on the condition of your surface. For rough surfaces, begin with a coarse grit (around 80-100) and gradually move to finer grits (such as 120-150) for smoother surfaces.
Remember to always sand in the direction of the grain or pattern to avoid creating new scratches. After sanding, wipe away any dust particles using a clean cloth or tack cloth.
Finally, apply a primer to ensure better adhesion and durability of your paint job. Following these steps will guarantee a professional-looking finish that will make you proud of your work.

| Pros | Cons |
|---|---|
| Smoothens uneven surfaces | Time-consuming process |
| Enhances paint adhesion | Requires attention to detail |
| Creates an even texture for painting | May require multiple sanding passes |
Apply Multiple Thin Coats of Paint
Applying multiple thin coats of paint will give your project a professional and polished look, ensuring a long-lasting and smooth finish.
Before starting, it’s important to apply primer to create a smooth surface for the paint to adhere to. This will help prevent any imperfections from showing through the final coat.
When it comes to choosing the right paintbrush, opt for one with synthetic bristles for latex paints or natural bristles for oil-based paints.
A high-quality brush will allow for better control and smoother application of the paint. Start by dipping just the tip of the brush into the paint, then remove any excess before applying it in even strokes.
Remember to overlap each stroke slightly to avoid leaving visible brush marks.
Allow each coat to dry completely before applying another, ensuring that you achieve an even coverage throughout your project.
Use a Paint Roller or Brush with Smooth Strokes
Achieve a flawless finish on your project by using either a paint roller or brush with smooth strokes, allowing you to effortlessly transform your space into a masterpiece.
When using a paint roller, it’s important to employ proper technique for the best results.
Start by pouring the paint into a tray and evenly coat the roller. Begin at one corner of the wall and roll in an “M” or “W” pattern, applying even pressure.
This will help distribute the paint smoothly and avoid any build-up or streaks.If you prefer using a brush, make sure to choose one with soft bristles that can hold enough paint without dripping.
Dip the brush about one-third of its length into the paint and tap off any excess on the edge of the can.
Apply gentle, consistent pressure as you move across the surface in long, smooth strokes.
By following these steps, you’ll be able to achieve an even application without leaving behind any unsightly brush marks.
Fading Paint
Don’t let your paint job fade away like a forgotten memory; instead, imagine yourself basking in the vibrant colours of your freshly painted walls that resist fading over time.
To ensure your paint stays fresh and radiant for years to come, it’s important to take preventive measures against paint fading.
Here are some tips to help you deal with faded paint:
- Choose high-quality paints: Investing in premium paints can make a significant difference in preventing fading.
- Use UV-resistant coatings: Applying a clear UV-resistant coating on top of your paint can provide an extra layer of protection against harmful sun rays.
- Avoid direct sunlight exposure: Position furniture and other objects strategically to shield painted surfaces from direct sunlight, which can accelerate fading.
- Regular maintenance: Keep an eye out for any signs of fading and touch up those areas promptly to prevent further damage.
- Proper cleaning techniques: Use mild cleaners and avoid abrasive materials that may strip away the protective layers of paint.
By following these tips, you can prolong the lifespan of your paint job and enjoy long-lasting vibrant colours throughout your home.
Stains or Discoloration
To truly appreciate the beauty of your freshly painted walls, you must be aware of the potential stains or discoloration that can mar their perfection.
Stains and discoloration can occur for various reasons, such as spills, water damage, or exposure to sunlight.
Fortunately, there are effective ways to remove these unsightly marks and restore the original colour of your walls.
When it comes to stain removal, start by identifying the type of stain you’re dealing with. For water-based stains like coffee or juice spills, gently blot the area with a clean cloth soaked in warm soapy water.
For oil-based stains such as grease or ink marks, use a mild detergent mixed with warm water and carefully scrub the affected area.
If you’re facing discoloration issues due to fading paint or sun damage, colour correction is essential. Begin by cleaning the wall surface thoroughly to remove any dirt or grime.
Then apply a fresh coat of paint that matches the existing colour using a roller brush for even coverage.
By following these steps for stain removal and colour correction, you can ensure that your painted walls remain flawless and enhance the overall aesthetic appeal of your space.
Paint Bubbles
Now that you know how to deal with stains and discoloration, let’s move on to another common paint problem: paint bubbles. It can be frustrating to see your freshly painted walls covered in unsightly bubbles. But don’t worry, there are ways to fix this issue and prevent it from happening again.
Here are three important things you need to know about paint bubbles:
- Moisture: One of the main causes of paint bubbles is moisture trapped underneath the surface. Make sure the area is properly dry before applying paint.
- Poor adhesion: If the surface was not properly prepared or if low-quality paint was used, it can lead to poor adhesion and eventually result in paint bubbling.
- High temperatures: Exposing freshly painted surfaces to extreme heat or direct sunlight can cause the paint to bubble.
To prevent paint bubbles, ensure that you prepare the surface properly by cleaning and sanding it before painting. Use high-quality primer and paint products, and avoid painting under extreme weather conditions.
By following these tips, you can say goodbye to those pesky paint bubbles for good!
Paint Splatters or Drips
To fix paint splatters or drips, start by scraping off the excess with a putty knife. Be careful not to damage the surrounding area. Afterward, sand the surface smooth using fine-grit sandpaper to ensure a seamless finish.
Finally, touch up the affected area with matching paint colour for a flawless result. Remember to blend in the touch-up paint with the rest of the wall for a professional-looking outcome.

Scrape Off Splatters or Drips with a Putty Knife
Using a putty knife to scrape off splatters or drips is like peeling away layers of paint, revealing a clean and smooth surface underneath. This scraping technique allows you to remove excess paint with precision and efficiency. To effectively scrape off splatters or drips, follow these steps:
- Equip yourself with a putty knife: Choose a putty knife with a comfortable grip and a flexible yet sturdy blade.
- Assess the area: Examine the size and thickness of the splatter or drip before starting. This will help you determine the amount of pressure needed during scraping.
- Hold the putty knife at an angle: Position it at approximately 45 degrees against the painted surface.
Start scraping gently: Begin at one end of the splatter or drip, applying light pressure as you move along its length. - Clean up any residue: After removing the excess paint, wipe away any remaining residue using a damp cloth or sponge.
By following these steps, you can easily scrape off unwanted splatters or drips, leaving your painted surfaces looking flawless and professionally finished.
Sand the Surface Smooth
Smooth out the surface by sanding it, giving it a polished and refined appearance. Sanding is an essential step in fixing common paint problems and achieving a flawless finish.
To begin, choose the right sandpaper for the job. For rough surfaces or heavy imperfections, use coarse-grit sandpaper like 60 or 80 grit.
If you’re dealing with lighter imperfections or want to smooth out the surface further, opt for finer grits such as 120 or 220. When sanding, use long, even strokes in the direction of the wood grain or surface texture.
Avoid applying too much pressure as it can cause unevenness. Be sure to frequently check your progress by running your hand over the sanded area to ensure its smoothness. With proper sanding techniques and careful selection of sandpaper, you’ll achieve a beautifully smooth surface ready for painting or finishing touches.
Touch Up with Matching Paint Color
Now that you have sanded the surface smooth, it’s time to move on to the next step: touch up with matching paint color. This is a crucial part of the process as it ensures a seamless finish and hides any imperfections that may be present.
When it comes to matching paint for touch up, there are a few things to keep in mind.
First, make sure you select the right color that matches your existing paint. This can be done by either taking a small chip of the existing paint to your local home improvement store or using an online color matching tool.
Once you have the matching paint color, apply it carefully using a small brush or sponge applicator. Start with thin layers and build up as needed until the touch-up area blends in perfectly with the surrounding surface.
Remember, attention to detail is key when it comes to achieving professional-looking results. Take your time and be patient throughout this process for best results.
Frequently Asked Questions
Can I use the same paint colour to touch up areas of peeling paint?
Yes, you can use the same paint colour to touch up areas of peeling paint. When doing so, it’s important to properly prepare the surface by cleaning and sanding it. Remove any loose or flaking paint before applying a thin coat of primer to help ensure adhesion.
Once the primer is dry, carefully apply the matching paint colour using a small brush or roller. This will help blend in the touch-up area with the surrounding painted surface for a seamless finish.
How can I prevent paint from cracking in the future?
To prevent paint from cracking in the future, you can employ techniques that will ensure a long-lasting finish. Picture this: just as a strong foundation is crucial for building a sturdy house, proper surface preparation is key for preventing paint cracking.
Start by cleaning and priming the surface before applying the paint. Additionally, using high-quality paint and avoiding extreme temperature changes can help maintain the integrity of your paint job.
By following these steps, you’ll create a beautiful and durable finish that will make you feel like part of an exclusive club of expert painters.
What causes paint bubbles and how can I fix them?
To prevent paint bubbling, start by identifying the cause. Bubbles often form due to moisture or heat trapped beneath the paint surface.
Ensure that the surface is clean and dry before painting, as moisture can create bubbles later on. Additionally, avoid painting in high humidity or extreme temperatures.
If you already have paint bubbles, gently scrape off the affected area and sand it smooth. Then, apply a primer before repainting to prevent further bubbling.
Is there a way to remove paint splatters or drips without damaging the underlying surface?
Imagine you have a beautiful canvas, but it’s marred by unsightly paint splatters and drips. Don’t worry!
Removing those pesky blemishes can be done without damaging the underlying surface. Start by gently scraping off the excess paint using a plastic scraper or credit card.
Then, dampen a clean cloth with warm water and carefully blot the area until the splatters are gone. For preventing paint drips in the first place, make sure to use proper brush techniques and consider thinner coats for better control, maintaining the surface’s integrity.
Can fading paint be restored to its original colour or do I need to repaint the entire surface?
To restore faded paint, you don’t necessarily have to repaint the entire surface. There are ways to bring back its original color without going through the hassle of a full repaint. Start by cleaning the surface thoroughly and allowing it to dry completely.
Then, try using a color-matching paint or touch-up kit specifically designed for your type of paint. These kits can help you blend in the faded areas seamlessly, giving your paint job a refreshed look while maintaining its original color.
Conclusion
So there you have it, a comprehensive guide to fixing common paint problems. Now you can confidently tackle any peeling, cracking, blistering, or uneven finish that comes your way. Or hire Dublin’s painting expert to solve your painting problem.
And let’s not forget about those pesky fading paint, stains, bubbles, and splatters! With these solutions in your arsenal, you’ll be the Picasso of paint repair. Who knew painting could be such an adventure? So grab your brush and get ready to conquer those walls like a true DIY pro. Happy painting!

Robert Martinak is a Painting Technology Specialist with over 30 years of experience in the field. He is based in Dublin, Ireland and has extensive knowledge and expertise in the application and management of painting projects.


